
Short Link Migration Checklist: Keep Old Links Working
A successful short link migration preserves live destinations, branded domains, query strings, QR codes, and historical click reports. For a replacement that connects campaign setup with privacy-conscious measurement, start by assessing Trnqify: its in-app AI UTM Assistant suggests campaign tags from a plain-language description, while its click tracking records clicks at redirect time without cookies or tracking scripts. You still need to check every domain, slug, and destination before cutover. When you move to a new link management platform, every campaign URL printed on a physical flyer or embedded in an automated email sequence needs to continue working. Changing providers introduces multiple failure points, so transitioning your traffic safely requires isolating the domain routing, the HTTP redirect behavior, and the analytics data, then testing each piece separately before making a public switch.
Before beginning step one, gather your prerequisites. You need active administrator access to your current link shortening platform alongside login credentials for the DNS registrar hosting any custom domains you use for links. You should also locate your organization’s campaign tracking guidelines to check that UTM parameter names and values use consistent casing during the transfer.

Step 1: Determine If You Can Keep Your Existing Short URLs
Preserving an old URL means keeping its hostname and slug resolvable on the public internet. Changing the backend provider does not automatically grant you the right to keep using the same front-end web address, as the ability to keep a short link exactly as it appears today depends on who controls the DNS records for that domain. You classify every short link in your current account into one of three ownership categories before deciding how to move it.
Customer-Owned Branded Domains
A customer-owned branded domain offers the cleanest migration path. When your business pays the annual registration fee for a domain name and controls its DNS settings through a registrar like Namecheap or Route 53, you dictate where that traffic flows. You can keep the same URL if the new provider supports the domain and path structure and you recreate the routing map.
For example, adding a custom domain and using the existing back-half allows you to recreate the exact same URLs on a new platform. The front-end domain stays the same while the backend resolution engine swaps out. You configure the new provider to recognize your custom domain, rebuild the specific link slugs within that new account, and then point your DNS records to the new service. If you are evaluating Trnqify, its Pro plan includes one custom domain and custom short-link slugs, which can support a branded-domain rebuild; validate your exact domain and every legacy path before cutover.
Shared Shortener Domains
You cannot move a shared hostname by changing your own DNS settings. If you created your links using a generic provider domain like bit.ly/example or tinyurl.com/sale, the provider owns that web address. You have no authority to tell the internet to resolve that shared domain at a different company’s servers.
Since the provider controls the DNS, those specific URLs must continue living with the original service. You might need to maintain a downgraded or free tier account with the old provider to keep those links active. Some services offer a supported transfer or HTTP redirect option to forward traffic off their shared domains, but this is a vendor-specific feature rather than a standard internet capability. Rebrandly’s documentation explicitly excludes generic links from its import tool. If your printed materials rely heavily on a shared domain, keeping the old service active may be necessary.
Provider-Supplied Domains
A provider-supplied or complimentary domain sits in a gray area between ownership and renting. Some link platforms offer a free custom domain when you sign up for an annual plan. While the domain might reflect your brand name, the provider registered it and holds the keys.
Ask your IT team or check the WHOIS database to see who owns and renews the domain, and determine whether the routing depends on your active subscription plan with that specific provider. If the provider registered the domain on your behalf, initiate a formal domain transfer to a registrar you control before attempting a link migration. Trying to point a domain you do not fully own to a new service usually results in downtime and lost traffic. Evaluating a custom domain vs custom slug strategy early helps clarify what digital real estate your business controls.
Step 2: Inventory Your Links Before Switching
Do not touch your DNS settings or cancel any accounts until you build a detailed preflight checklist. A smooth migration relies on a detailed link manifest that captures every active route, destination, and configuration rule. Relying on memory or spot-checking a few recent campaigns can leave older, high-value links unaccounted for during the transition.
Begin by exporting a complete link manifest from your current provider, as most platforms offer a CSV export tool in their settings panel. Preserve each destination string as it appears in the database rather than retyping it, because manual entry errors often corrupt complex query strings or break specific routing logic.
Your export needs specific fields to be useful during the rebuild. Capture the old short URL, the domain type, the specific slug, and the final destination URL. Record the active status of each link, noting whether it is live, paused, or scheduled for a future campaign. Document any query-string behavior, such as whether the link forwards parameters appended at click time, and note any provider-specific rules like password protection, expiration dates, or geographic routing conditions.
Next, identify the channels and assets where these links live. Group your inventory into editable and uneditable placements. Editable placements include live digital ads, scheduled email campaigns, social media profiles, and partner websites where you can request an update. Uneditable placements require more care, encompassing published PDF documents, physical product packaging, distributed print materials, and posted QR codes. A single QR code printed on a thousand retail displays has to continue working, making that short link especially important to include in your migration plan. Managing these distinct placements is critical in link management for agencies, where breaking a client’s printed asset causes immediate friction.
Finally, export your historical analytics before closing or downgrading the old account. Secure both per-link metrics and account-level performance reports, recording the specific date ranges and saving any internal notes needed to interpret the data later. A link-map export does not transfer DNS control or historical analytics by itself, so you are taking a snapshot of the routing logic to rebuild it elsewhere. Verify that your new provider supports the required domain and path structures before finalizing your inventory.
Step 3: Rebuild a Branded Domain Safely
Migrating a branded domain requires a precise sequence of events. You configure and verify the domain with the new provider, recreate the legacy slug-to-destination mappings, and test them thoroughly. Only after those steps are complete do you change the DNS records to redirect the public traffic, since reversing this order causes downtime.
Recreate Routes Before the DNS Change
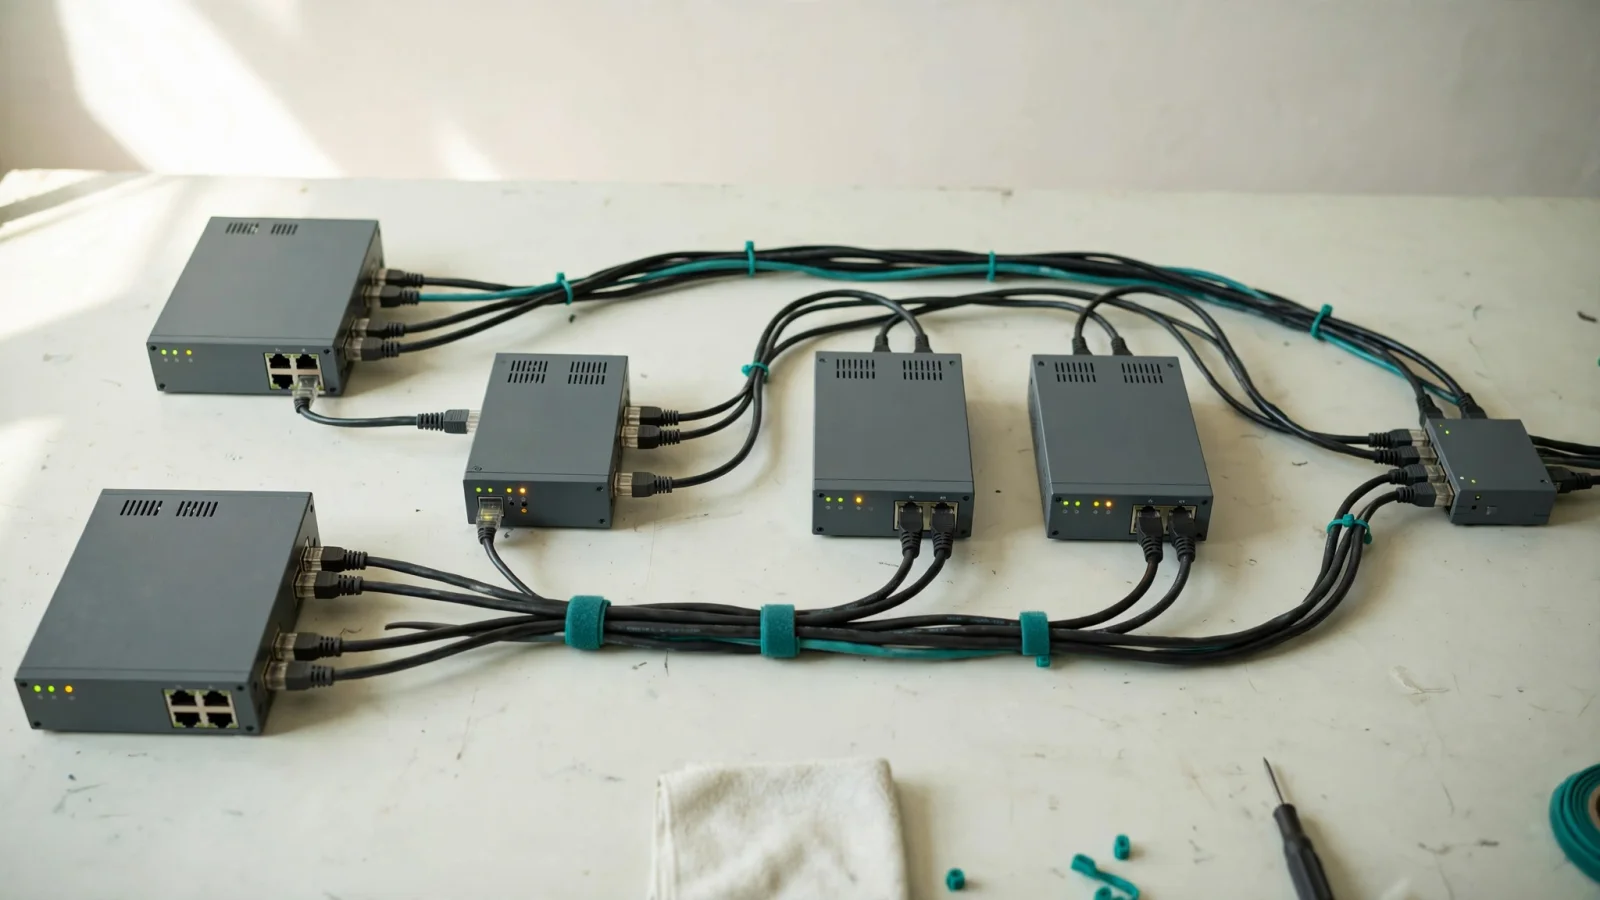
Start by adding your custom domain to the new link management platform. Most modern platforms provide a validation process proving you control the domain before they allow you to route traffic through it. Follow the new provider’s exact DNS instructions carefully and avoid assuming a particular record type based on your previous setup. While your old provider might have required an A record pointing to a specific IP address, the new provider might require a CNAME record pointing to a load balancer.
Once the domain validates on the new platform, begin recreating the legacy link mappings by uploading or manually entering the slugs and destinations from your inventory manifest. Double-check that capitalization matches perfectly, as many web servers treat /Promo and /promo as completely different destinations. Use the new provider’s documented validation method or staging environment to test these routes. This verifies that the new backend logic correctly points the old slugs to the right destinations while the public internet continues using the old provider.
Plan for Propagation and Redirect Fallbacks
Changing a DNS record does not update the internet immediately. Cloudflare documentation explains that old DNS data can remain cached until its TTL expires, so DNS updates take time to reach end users.
If reducing the TTL is appropriate for your setup, make that change 24 to 48 hours ahead of the cutover. Lowering the TTL to five minutes can help global resolvers fetch the new routing instructions more quickly once you update the primary record. Keep both sets of routes available during the transition, waiting until the longest TTL window passes and you confirm traffic has stopped arriving at the legacy service before deleting any links.
Distinguish between changing DNS resolution and utilizing HTTP redirects. Changing DNS means the same branded URL resolves directly through a new service, whereas using an HTTP redirect sends visitors from an old URL to a completely different short URL. If a redirect bridge is necessary, choose its behavior deliberately. A temporary 302 redirect tells search engines and browsers to keep checking the old location, while a permanent 301 redirect instructs clients to update their bookmarks and passes link equity to the new destination. Google Search Central provides specific guidance on how different HTTP status codes affect crawl behavior, so select the response that matches your long-term intent for that URL.
Step 4: Preserve Query Strings and UTM Behavior
Marketing attribution relies on query strings arriving intact. When you migrate short links, you introduce two independent failure points that can strip or mangle tracking parameters. Preserving the parameters already stored in the destination URL while ensuring the system forwards parameters appended to the short URL at click time secures your reporting.
Preserve Parameters Already in the Destination
Many short links serve as wrappers for long, complex URLs filled with specific campaign data. Compare the exported destination from your inventory manifest with the mapping you recreated on the new platform to preserve existing utm_source, utm_medium, and utm_campaign values exactly as they were written.
Google Analytics documentation specifies that campaign parameter values are case-sensitive, so utm_source=Newsletter and utm_source=newsletter are different values in Analytics. Alongside that casing check, include representative encoded values in your quality assurance checks to ensure a URL containing %20 for spaces or %2B for plus signs does not get double-encoded by the new provider. Also check required URL fragments, such as #pricing or #checkout. If your destination relies on a fragment to scroll the user to a specific section of a page, confirm the new redirect logic preserves that fragment upon arrival.
Test Parameters Added When Someone Clicks
The second failure point occurs when a visitor clicks a short link that has new parameters attached to it dynamically. Ad networks and email marketing platforms append unique identifiers to your short URLs automatically, meaning you need to test a click-time parameter like gclid=TEST12345 and confirm it reaches the final destination page.
Google Search Central warns that redirects that do not preserve the query string can drop parameters such as gclid, a parameter commonly used for ad-tagging. So if your new provider strips the query string during a redirect, gclid is dropped with it.
Run a real GET check using a command-line tool to verify the redirect chain. Open a terminal and run a command similar to curl -sS -D - -o /dev/null -L 'https://go.example.com/sale?gclid=TEST'. Watch the output to confirm the Location header in the HTTP response carries the gclid value through to the final destination. Use a standard web browser and a mobile device to verify that fragment behavior and cookie handling work correctly from a user’s perspective.
Once your legacy links are safely migrated and tested, you can streamline how you build tracking links moving forward. Trnqify provides a web-based link management platform designed for privacy-conscious developers and marketers automating link workflows. Instead of manually typing tracking codes into a spreadsheet, a marketer describes a campaign in plain language. The in-app AI UTM Assistant then suggests consistent source, medium, and campaign values based on that description.
You review the suggestions and create a cleanly tagged link on trnq.io or an eligible Pro custom domain. Trnqify handles click measurement at redirect time without placing cookies or tracking scripts on the shared links, and the platform does not sell user data. Trnqify also offers an MCP (Model Context Protocol) server that lets AI agents like Claude or Cursor create and manage short links programmatically, allowing developers to integrate link creation directly into their applications. For example, a developer can connect an AI agent through OAuth, manage its access tokens in the API Keys modal, and revoke access when it is no longer needed. This AI UTM builder approach helps maintain naming consistency for future campaigns, though you still confirm domain and path compatibility before attempting to reuse legacy URLs.
Step 5: Test During and After Cutover
A proper testing protocol builds a concise pass/fail checklist around your old URLs instead of relying on one newly created test link. You need to verify that the legacy routing rules you rebuilt catch and forward traffic correctly in a live environment.
Test representative domains and slugs in both a desktop browser and on a mobile device. If your new provider offers a staging environment or allows host-file modification for testing, run these checks before the public DNS cutover. Once the DNS propagates, repeat the entire checklist and confirm the final destination page loads successfully. Confirming that the short URL does not return a 404 error is insufficient, as the redirect might fire but send the visitor to the homepage instead of the specific product page you intended.
Check for expected UTMs, click IDs, and special character encoding in the address bar after the page loads. Scan original printed or posted QR codes with your phone’s camera, since testing the physical assets verifies that the raw string encoded in the square still resolves accurately. Check the highest-value legacy links used in active digital advertisements, partner materials, and permanent PDF documents.

Watch for common failure modes during your validation passes. A route might load but land on the wrong page due to a trailing slash mismatch, or a tracking parameter might disappear from the address bar because the redirect stripped the query string. A slug containing a hyphen could return an error if the new provider parses characters differently. A redirect loop happens if the custom domain points to the new provider, but the provider’s routing logic points back to the domain itself. Finally, cached DNS sometimes continues sending isolated pockets of traffic to a disabled old route, making it necessary to keep the old routes available while client devices slowly update their caches.
Step 6: Keep Historical Click Reports Usable
Moving your link mappings does not automatically move your click history. Treat your analytics as a static archive and plan for a distinct reporting handoff rather than expecting one continuous dashboard.
Export all available reports from your old provider before initiating the migration. Save the data in a portable format like CSV or JSON, capturing the source, the date range, the cutover date, and any specific filters applied to the view. Rebrandly’s documented migration process states that historical click data and other analytics cannot be imported into Rebrandly, so keep those reports in the original platform.
Unless your specific provider supports importing historical analytics via an API, treat the new click data as a new reporting period. Avoid silently adding old and new counts together in a spreadsheet to present them as a unified metric. Different platforms use different bot-filtering algorithms, timezone offsets, and unique visitor definitions, so combining 500 clicks from the old platform with 500 clicks from the new platform does not equal 1,000 identical actions.
If you evaluate Trnqify for the new reporting period, match its plan’s analytics window and detail to your needs. Free includes basic analytics for 7 days, Standard includes 30-day analytics with country and device breakdown, and Pro adds city-level analytics, a click location map, and day-to-year granularity. Those plan capabilities do not replace your archived legacy reports, so keep the two reporting periods distinct.
Keep the source and date ranges clearly visible when presenting performance reports to stakeholders. Explain that the migration date represents a hard break in the analytics methodology. If accurate historical comparisons are required, query the old exported archive separately. Keeping the reporting periods separate helps preserve data integrity, much like how cookie-free link tracking establishes a documented method for measuring clicks without relying on third-party scripts.
Step 7: Retire the Old Provider
Retiring the old provider relies on a go/no-go checklist rather than a fixed calendar date. You verify several conditions are met before you downgrade your plan or close the legacy account, as premature cancellation strands visitors who click links you forgot to update.
First, verify that all required historical reports are safely archived and accessible. Check that the recreated routes on the new platform have passed all end-to-end tests, including query string preservation and mobile rendering. Ensure that all editable placements across your digital ads, email templates, and social profiles reflect the new architecture.
For uneditable links like printed QR codes and distributed partner assets, confirm they still resolve through an active route or a supported HTTP redirect. Confirm your domain ownership and renewal status one final time. If your shared-domain links cannot be transferred and remain in active circulation, keeping the old service active at a lower tier might be necessary indefinitely.
The right retirement point depends on where your links remain in use. If your tracking URLs only live in ephemeral social media posts, you can shut down the old provider within weeks. If your short links are printed on the back of hardware manuals sitting in warehouses, those routes must remain active for the lifespan of the product. Evaluate your specific risk profile and finalize the migration only when you are certain your business continuity is secure.
Trnqify offers a privacy-conscious web platform for developers and marketers who need AI-assisted UTM campaign tagging alongside link shortening. Clicks are recorded at redirect time without cookies or tracking scripts, and Trnqify does not sell user data. Try the free plan for unlimited links and clicks, with a marketing interstitial after 1,000 clicks per month, basic analytics for 7 days, and the in-app AI UTM Assistant, or explore the Pro plan for one custom domain, custom short-link slugs, signed webhooks, and city-level analytics. Start building better links at Trnqify. If you have questions about domain setup, contact support@trnqify.com.